The problem with my sewing skills is that I do not usually use patterns. I will usually find a picture of something that I love so much but can't find a pattern (or don't want to pay for the pattern) right away. My ambition and motivation doesn't last long so I usually have to do it soon or it will get pushed back until it is forgotten about. Luckily, I live right by Hobby Lobby! So I usually find a way to do my crafts right away.
But hopefully my directions will make sense.


My Directions:
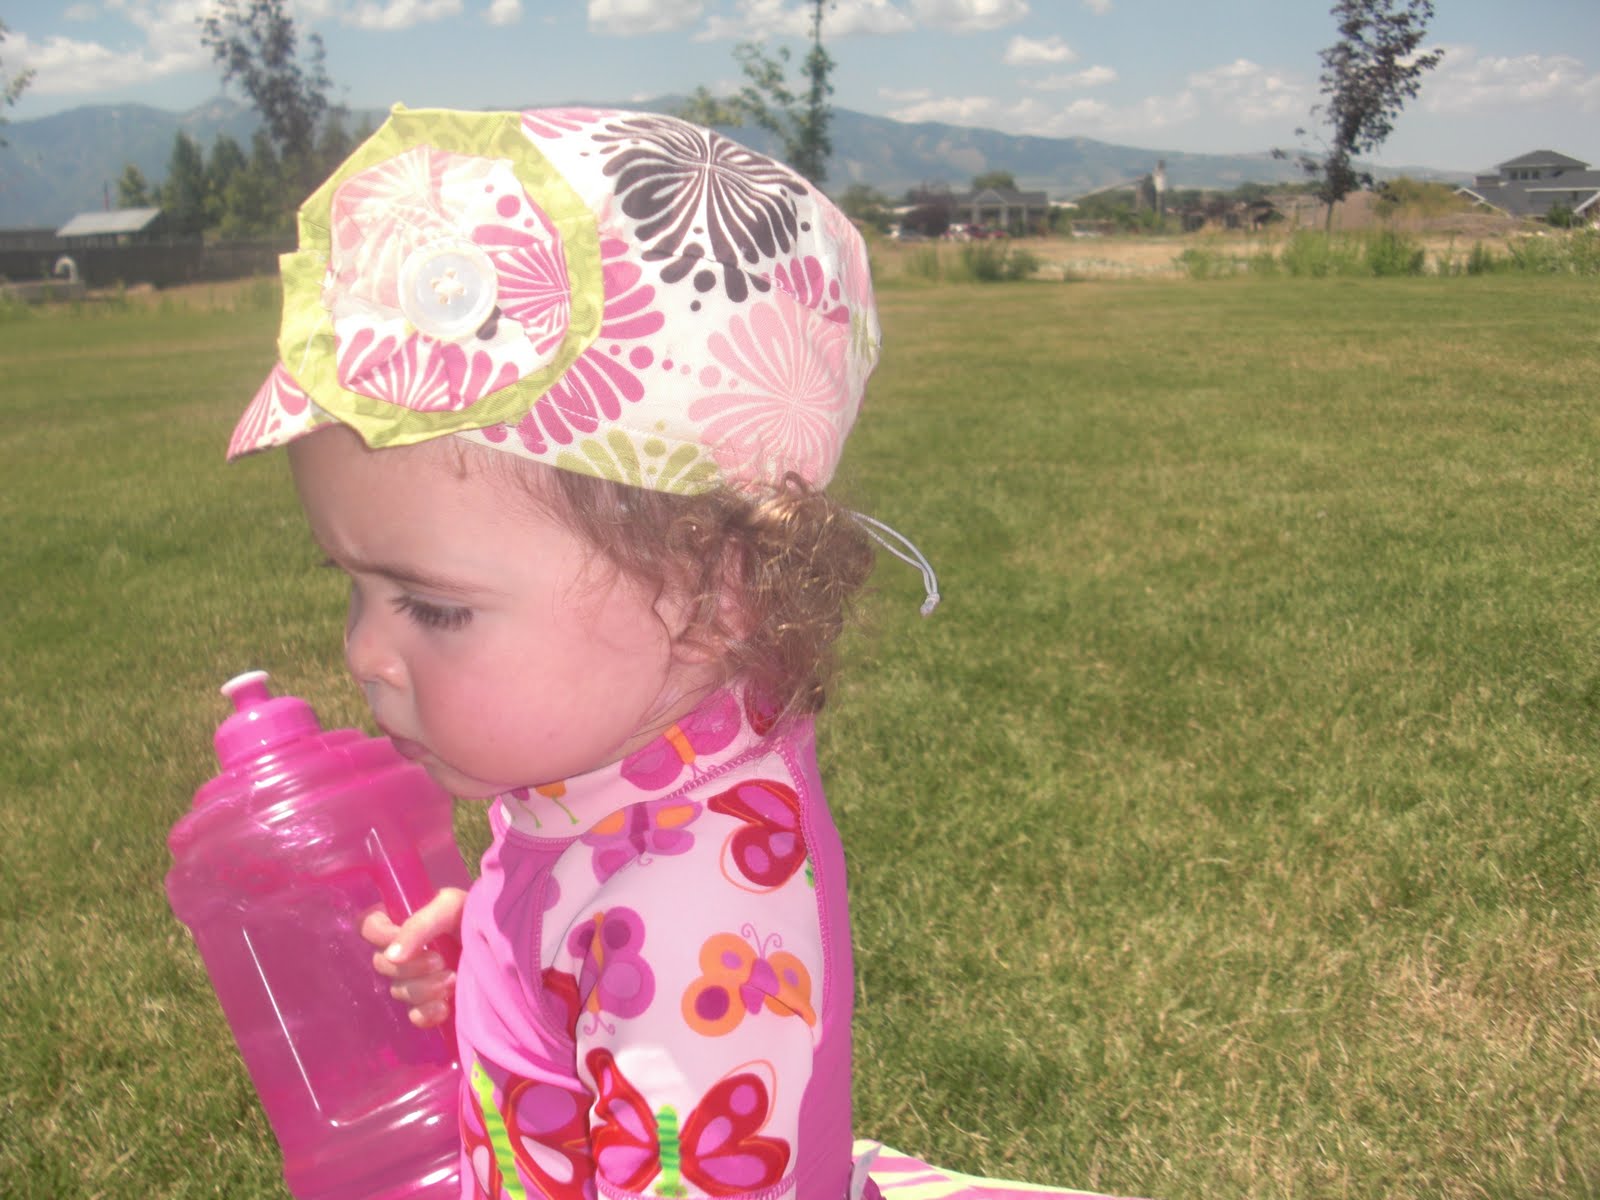
I got some fabric, and measured her head a round and then added a few inches.
I cut 3 inch wide strip the amount of inches I measured around her head.
Cut 1circle for the top of the head. To find out, you divide The length around the head by 3.14 to get your diameter.
then cut two 2-3 inch thick strip around the circle for the brim of the hat. (you're just cutting a larger circle from the circle you just cut out.
Sew the strip to the circle (pretty sides facing each other)
Sew the two curved brim pieces together (pretty sides facing each other) and pull inside out.
Sew lines around the brim to add texture. 3 cm apart (if you want)
Sew the brim to hat (pretty sides together)
The nice thing about guessing is you can always sew in elastic to make it fit just right. And everything is cute when it bunches a little (on kids at least)
I sewed in a small elastic inside the hat, but that is totally optional!
This hat was a lot harder and I don't remember the exact directions I used but if you really want to know, just ask and I'll see what I can come up with!


This next hat is a little ridiculous but I love it!
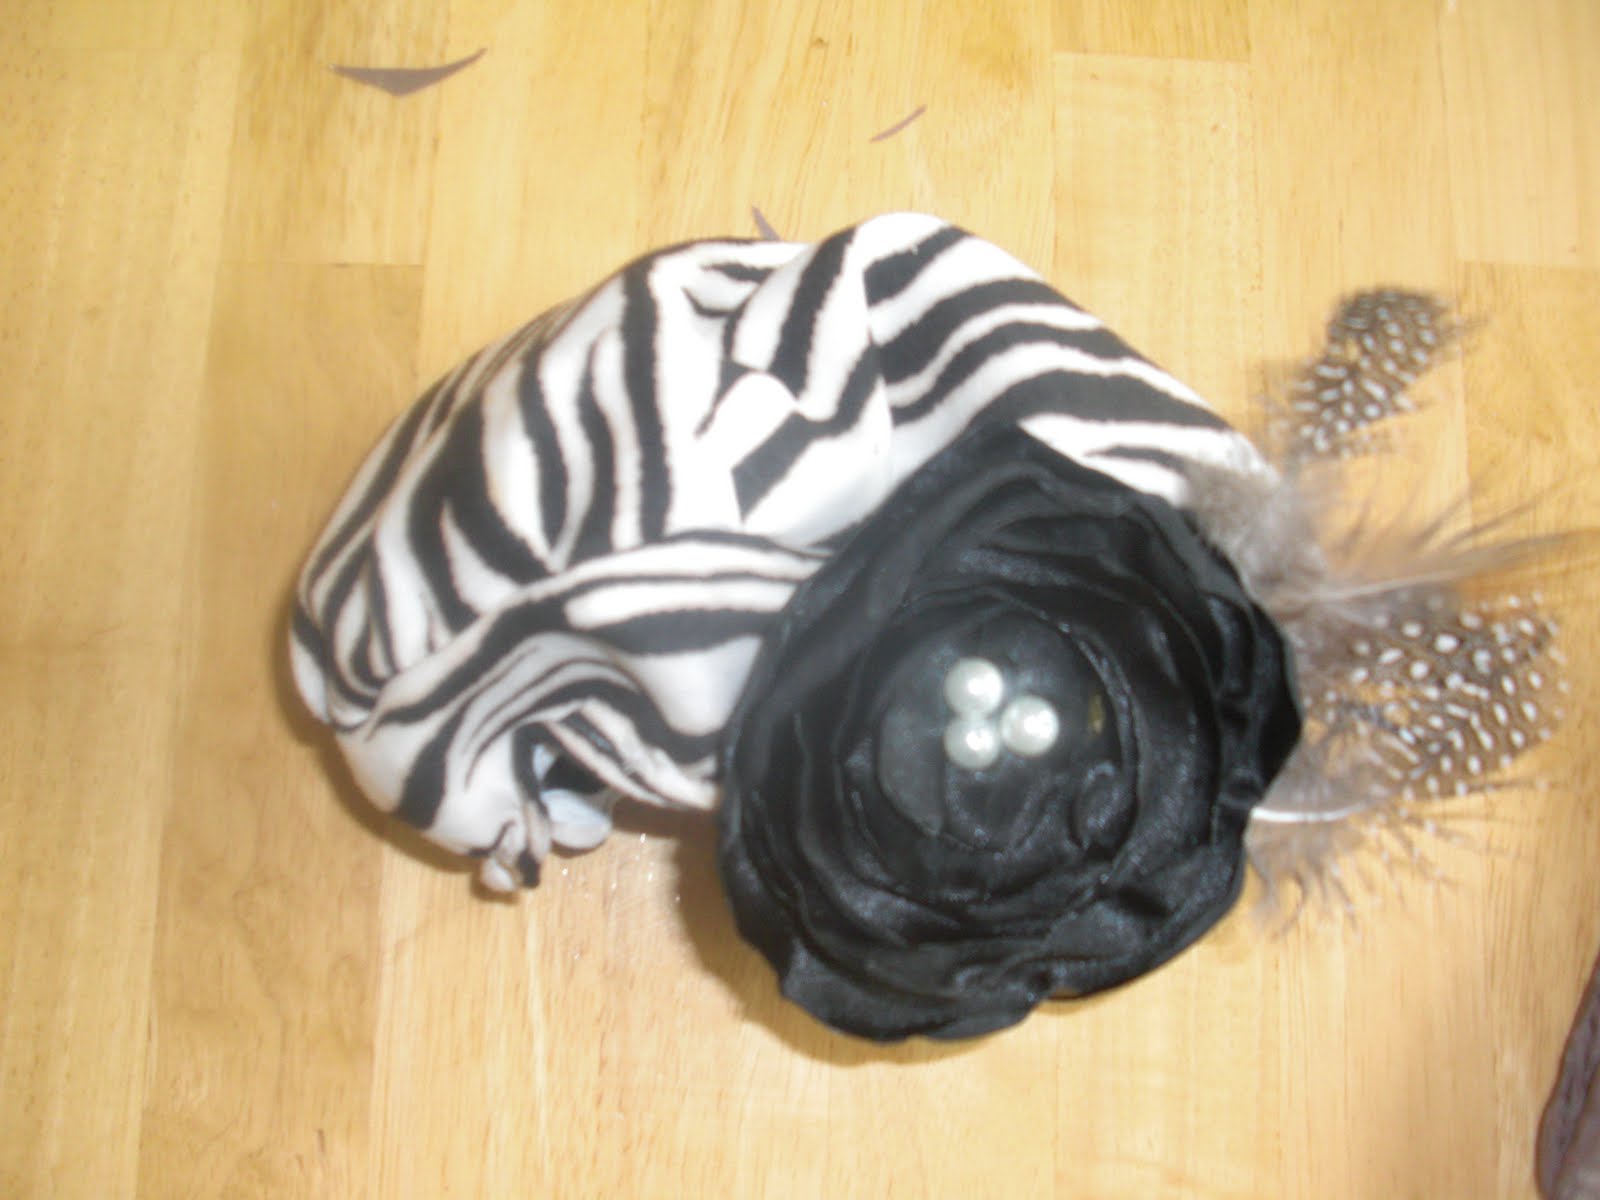
Sew them together (pretty sides together). and turn it right side out when done.
Cut out a big circle (just guess)! it can be huge depending on how puffy you want the top to look.
Sew the circle to the strips (the side that hasn't been sewed) and pleat as you go to give it the puffy look.
Add flowers, feathers, or whatever you want to the front of the hat.
Once again- I added an elastic piece to the hat to help it stay on tighter during the day!
